Objective: Learn about what Form is, create and understand what a three dimensional
work of art is. Introduction to life and work of Claude Monet and Impressionism.
Materials required:
10×10 tagboard white
12×18 tagboard white
9×12 construction paper light green
Turquoise/ blue watercolor
Salt
Tempera paint (pick 3 colors of your choice)
Tissue paper in mixed green, light blue and yellow pre-cut in squares
Modpodge or school glue (watered down)
Yellow crepe paper cut in strips and fringes
Brushes
Clear tacky glue
Session 1:
1. Paint a sheet of 10×10” heavy weight tagboard with turquoise liquid/ blue
watercolors, adding salt while wet! This becomes the water background, and the
salt, (once dry), will make it look like light is reflecting off of the water. Put it aside
on the drying rack to dry to use for the next session.
2. The next step would be to paint entire sheet of 12×18” heavyweight tagboard either
fuchsia or orange or a color of your choice using tempera paint. Put it aside to dry in
the drying rack to work on it in the next session.
3. Tightly roll the yellow crepe paper fringe and glue the end to make the center of the
flower.
4. Create the lily pad, glue pre-cut squares of various shades of green and yellow and
light blue tissue paper using watered down white school glue (or watered-down
mod podge) on the 9×12 construction paper. You can pre-draw the circles for the
lily pads with sharpie to save time. Allow them to dry for the next session.
Session 2:
1. Students cut out their green lily pad and then cut out a slim triangle from their
lily pad. Attach lily pad to blue water background using glue stick.
2. Using the template provided, have the students trace 6 petals of each size on the
paper they painted with tempera on 1st session.
3. Once the tracing is done, have them cut out the petals starting with the large 6
first,
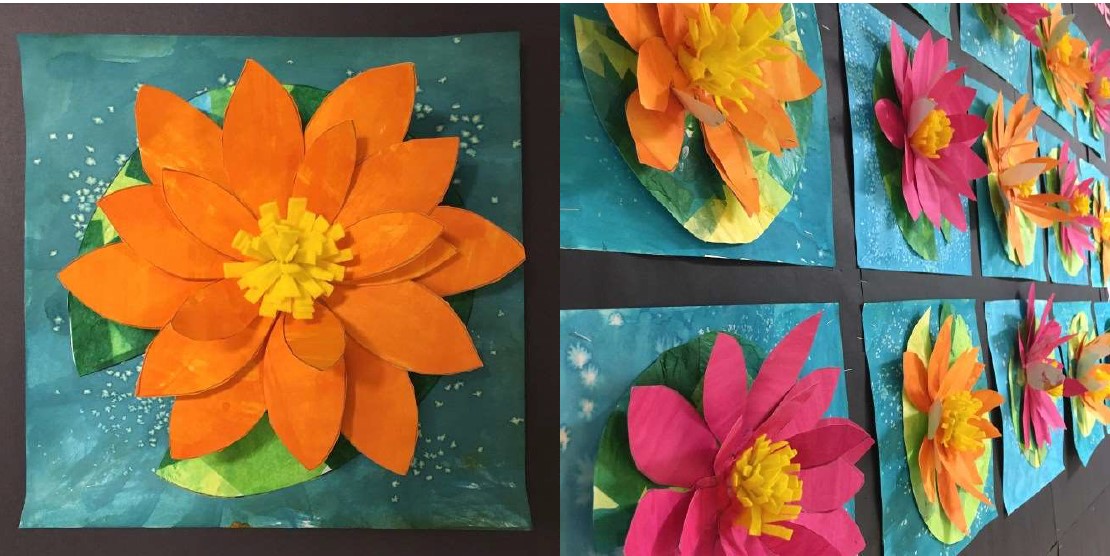
4. To assemble the flower, glue down all the large petals first, then medium, then
small.
5. Show students under the document camera, how to stack the fish “tail” of each
petal right on top of each other like when making a sandwich –stacking the next
rectangular fish tail over the previous one each time.
6. After applying glue and pressing the “tail” down for 5 seconds, bend the petal
back at its base with one hand, while pressing the “fish tail” down securely with
your other finger. This makes the petal stand up and pop out rather than lying
flat.
7. Attach the yellow crepe paper fringe to the flower’s center using clear tacky
glue.
Template for the lily petals are here.
Variations of this lesson:
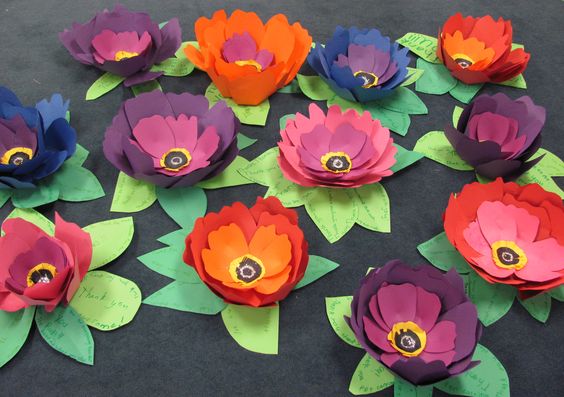
- Poppies instead of water lily (Artwork to discuss – Georgia O Keefe’s oversized Poppies), step by step guide for the lesson is here.
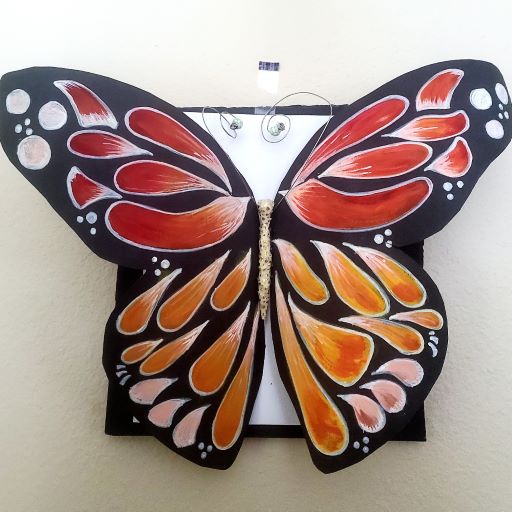
- Butterflies instead of water lily (Artwork to discuss -Van Gogh’s butterfly series or you can bring Eric Carle’s “Very Hungry Caterpillar” to show illustration) step by step guide of this variation here.