LESSON PRESENTATION INSTRUCTIONS
TEXTURE
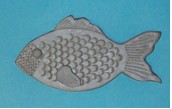
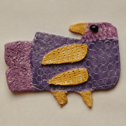
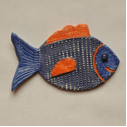
FISH/BIRD PLAQUE
Lesson Objectives: Students will create a textured plaque in the shape of a fish or bird.
Students will have an opportunity to practice several clay techniques and use various tools to create texture on their form.
Time Required: Two sessions
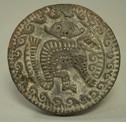
Artist: Metropolitan Museum of Art, Ceramic Staff with Profile Figure, 6-11th century, Ecuador (available online)

Materials (Day 2):
Clay
Brown paper bag or cardboard placemats
Rolling pins
Small dish or lid of water
Tools to create patterns
Materials (Day 2):
Glaze
Paintbrushes
Dixie cups
Presentation:
Discuss texture. Showing pictures if possible, point out the wide variety of shapes and designs of fish or birds. Discuss slab and scoring techniques.
Procedure, Session 1:
- Students will start by rolling a slab of clay. Then lightly trace an impression of the outline of a fish or other animal to fit the slab.
- Cut out fish.
- Decorate fish using a minimum of three tools. Anything that can be pressed into the clay to create an impression can be used; modeling tools, pencils, paperclips, straws, dried pasta, etc. – let the students brainstorm and come up with their own ideas.
- Using the scoring technique, add on eyes, fins for fish and feathers for birds, etc. Be sure to join the pieces well by rubbing a wet finger on the back of the add-ons.
- Carve initials on the back of the slab. Consider adding a bit of a curve to the animal if appropriate. For example, curving the tail of the fish up against the curved side of a paper plate will make it look like it’s swimming.
Procedure, Session 2:
- Paint the plaque with glaze.
- Using 2-3 coats will result in vibrant colors.
- Make sure not to get glaze on the bottom of the plaque! Or use stilts in the kiln to prevent the glaze from coming into contact with the kiln shelves.
- Let dry 14 days and then glaze fire in the kiln.


