GLASS FUSING
BEFORE YOU TEACH YOUR GLASS LESSON:
Contact Explore Art Chairs (exploreart@smithptsa.org) to review your project. Each class is allowed ONE project only. Please choose a project from the list of approved projects for your grade. Do not jump ahead to the next grade level’s projects.
BEFORE YOU CUT YOUR GLASS, make sure you email EA chair, Susmita Islam and Glass Lead Thora Martodam with your grade level, teacher’s name, number of students, and what project you’ve chosen. We must carefully keep track of all glass projects in order to plan future inventory of glass colors, rod and stringer colors, and frit colors. Please DO NOT create your own projects or do extra projects. If you have an idea for a new project, please talk to Susmita and Thora. It may be possible to develop the idea if we have enough glass inventory.
Because glass is now part of the Explore Art budget, you will NOT be collecting money from parents for glass projects.
THE BASICS
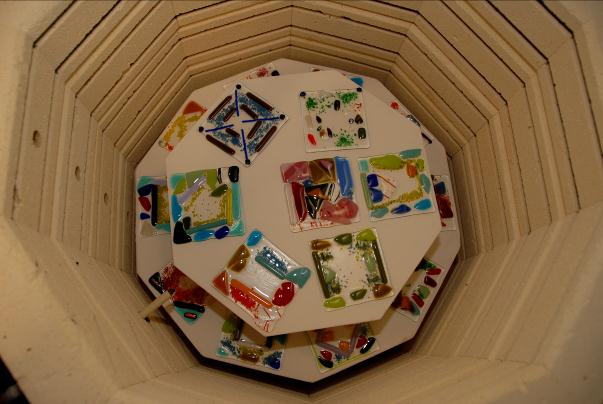
Fusing is melting individual pieces of glass together. You can tack fuse or contour fuse to produce a more textured look or full fuse which gives you a smoother finished product. Glass will be heated in the kiln up to 1475 degrees. The kiln will run a little more than 4 hours and then need to stay closed for an additional 6-8 hours.
BULLSEYE COE 90 FUSIBLE GLASS
What does the COE mean? Coefficient of expansion means that the different pieces of glass fused together have to be compatible in the rate of heat expansion and cooling contraction.
GLASS TYPES
- Sheet – rolled
- Rod
- Stringer
- Frit
- Dichroic
TOOLS
- Glass cutters
- Nippers
- Running Pliers
- Tweezers
- Toothpicks
- Elmer’s Glue
- Wire and wire cutters
- Pliers
- Paper plates to assemble projects- write names on plates to identify
SAFETY TALK WITH STUDENTS:
- No sword fighting with rods and stringers
- Don’t brush off the table with your hands- YOU WILL SUSTAIN CUTS! Use a broom for larger pieces. Wipe table and chairs with a wet paper towel.
- Don’t hold glass by the edges. Hold between fingertips or on flat palm.
- Use the cutting stations to minimize glass shards on the floor and surrounding carpet area.
- Emphasize that no glass pieces are allowed in pockets or desks. Students may not take glass pieces home.
- Glass cutting tools will not cut you
- Use goggles when cutting
- It’s a privilege to work with glass- can be taken away.
CUTTING
- Set up a cutting station- this is mandatory for personal safety and protection of our tools
- Table or desk covered with butcher paper
- Cardboard box
- Have cutters, rulers, Sharpies, running pliers, nippers
- Cut rods inside a box to catch flying pieces
- Measure and mark with Sharpie before cutting, then clean glass with Windex and a paper towel. Marker marks left on glass will not burn off if sandwiched between two pieces of glass.
- Always stand when cutting
- Hold cutter at about 120 degree angle- listen for “crackling” sound
- Score the smoother side of the glass
- Glass wants to break in a straight line but curves are possible
- Use a steady even pressure
- Always make sure oil is in cutters- don’t use dry cutters
WHERE TO START
Two weeks ahead:
- Contact Explore Art Chair (Susmita) and Glass Lead(Thora) regarding project plan
- All glass fusing materials are in a locked cabinet and only accessible by Explore Art chairs
- Pre-cut glass as needed


